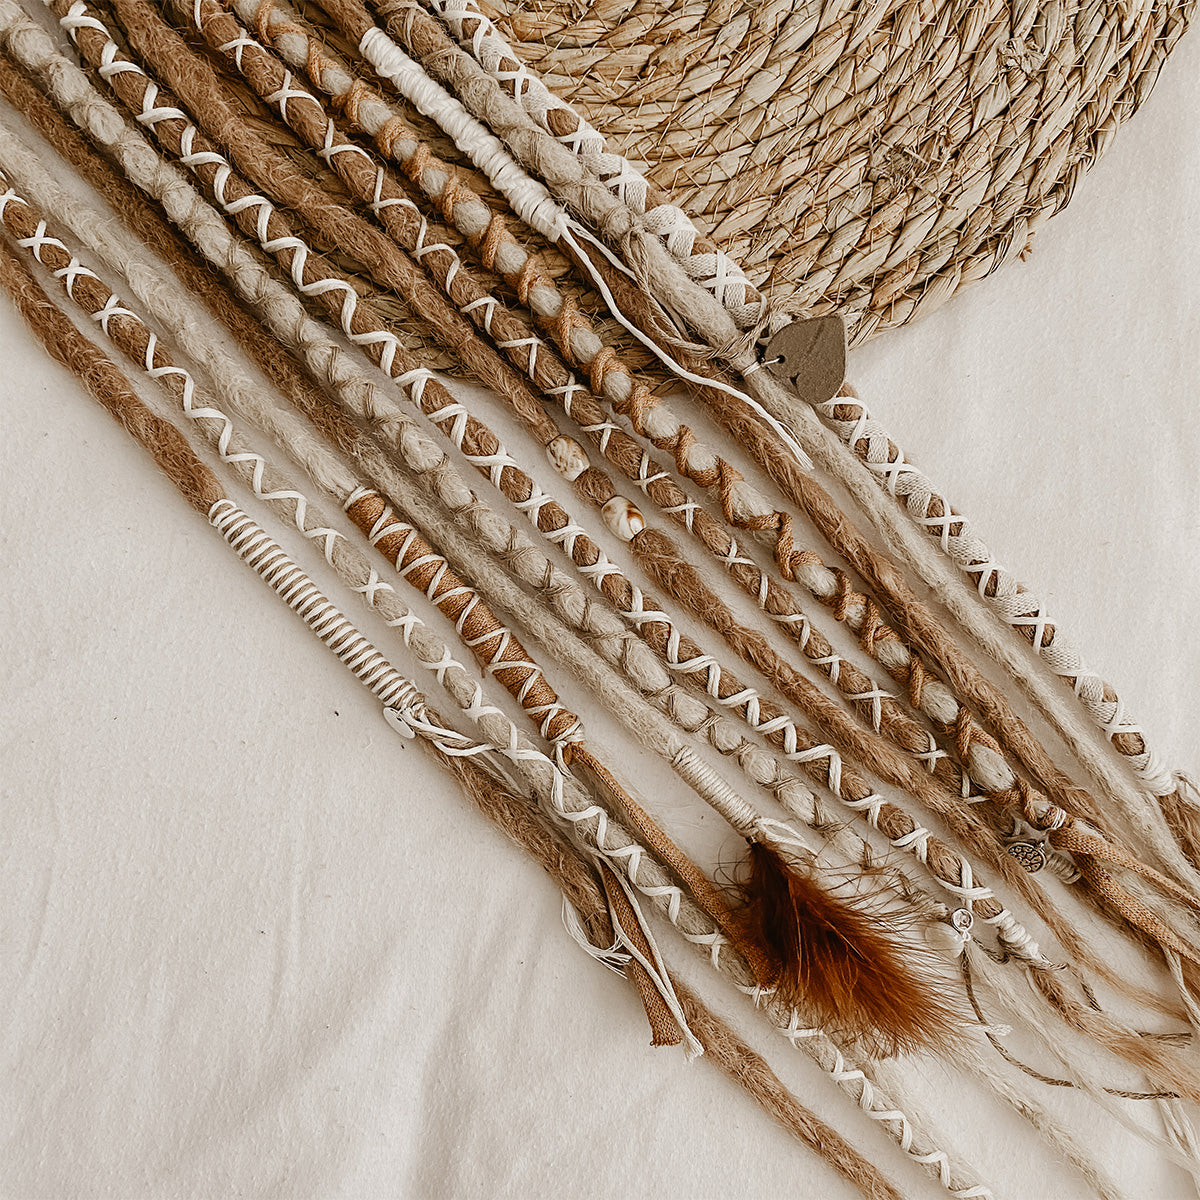


Different kinds of Dreads
There are a lot of different kinds of dreads and with that multiple methods of making your own dreads. To decide which method you should use, you first need to know what kinds of dreads you want to make.
Single or double ended dreads
Start by choosing if you’d like to make Single Ended Dreads or Double Ended Dreads.
Thickness of the dreads
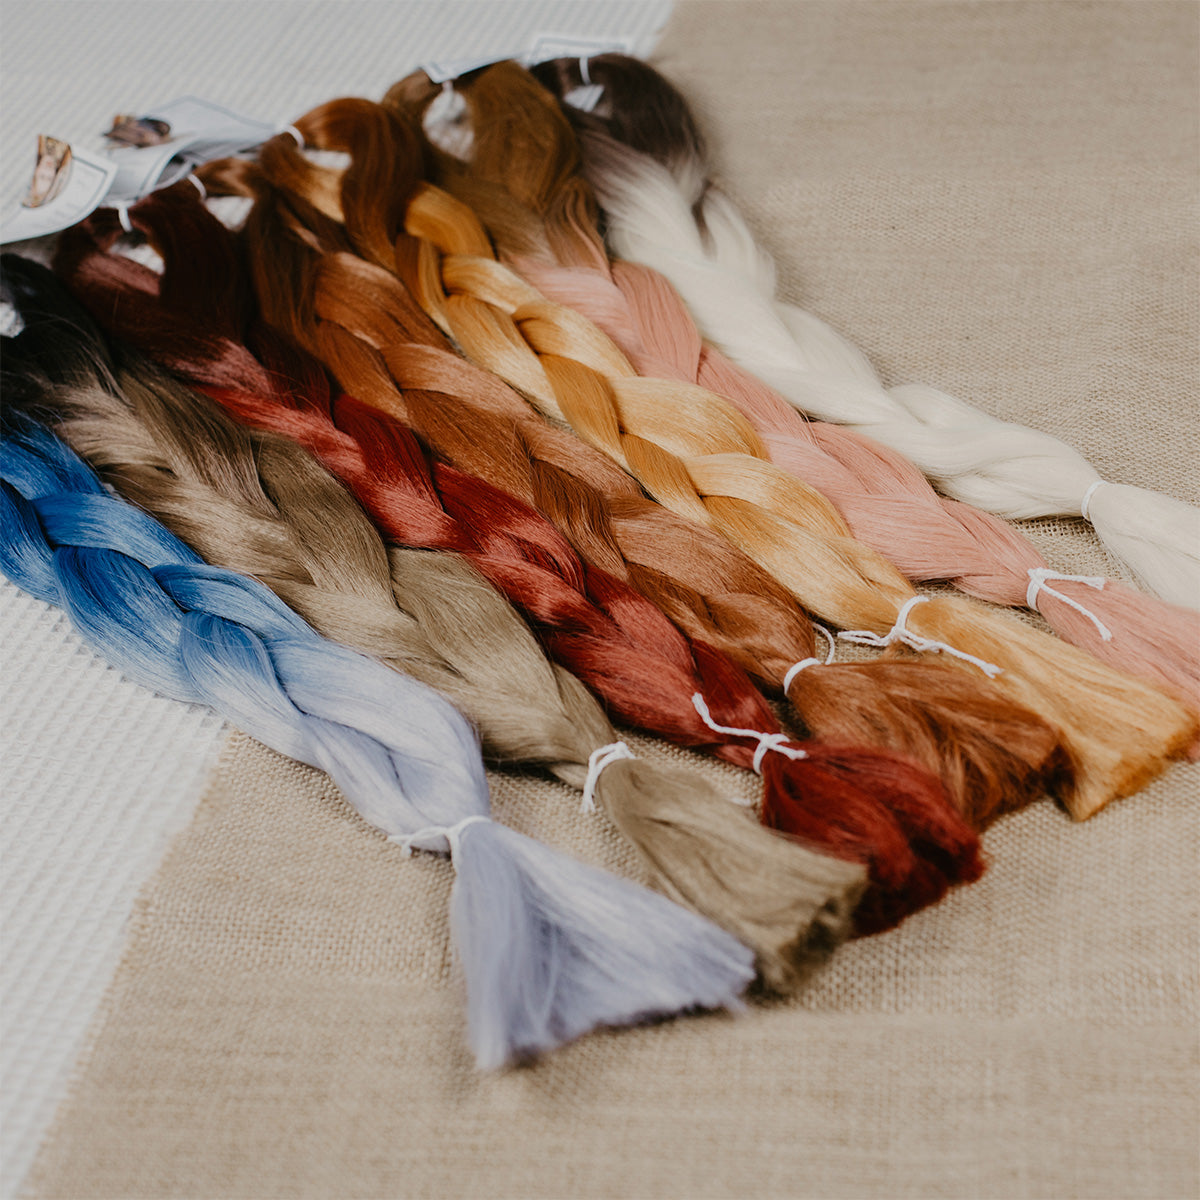
When you have decided to make Single or Double ended Dreads, you choose which thickness you’d like for your dreads. You can make the dreads as thick or thin as you like. With very thick dreads it is important to keep in mind that they won’t get too heavy.
You can make smooth dreads or crocheted dreads. Smooth dreads are made by teasing them and then seal them. Crocheted dreads have a more real/natural look. This is because Real Dreads usually are made with a Crochet Hook.
The crocheted dreads give a better quality most of the time because by crocheting you really knot the hairs together. You won’t be able to get this loose directly, which makes the dreads sturdier. You can use them multiple times because of this. Dreads that are only teased and sealed can be used multiple times as well. After you have braided them in a couple of times, you can always seal or steam them again. This way, you’ll enjoy your dreads longer!
Dividing the hair and determining the length
Divide the hair per pack. This way you’ll know exactly how many dreads you make out of one pack and you can keep this amount in mind when opening a new/next pack of hair.
First, divide the hair in half and then divide those halves in half again. This way, you’ll get four equal parts of hair. You can divide these in two or three again. Continue until you are left with the thickness you’d like for your dreads.
At the middle part of the hair (where the hair is folded) you can create your attachment piece. Single ended dreads have a loop, which you can make out of the middle of the Henlon Hair. Then you fold the hair double, so your dreads will become double the thickness.
Once you have found the right thickness, you can start determining the length. The length you measure is double because the Single Ended Dreads will be folded double in the end. This works the same way with the Double Ended Dreads.
For dreads of 12 inch / 30 cm, you can simply cut the hair in half. This way, you’ll get two pieces of 24 inch / 60 cm. For longer dreads you can cut a little piece of or just use the entire length if you want.
Shuffeling (thinning out the hair at the ends)
After you have determined the length, you can shuffle the hair. This is done so that the ends of your dreads will have a nice tip to them.
To do this, you’ll take one tuft of hair each time and split it in two. Then you lay the middle part on top again but do this in a way so that the middle pieces aren’t precisely on top of each other. This will cause a slight difference in length at the end of the hair. This way, the tips of the hair are a little thinner already.
Repeat this a couple of times and make sure you switch between which strand will lay forward a little and back the next time.
Once you have done this, your hair is ready to be backcombed!
Backcombing
Fasten the hair. With Double Ended Dreads you fasten the middle part so you can backcomb one side at a time. With Single Ended Dreads, you fold the hair double around a bar. This needs to have an open ending so that you can slide the dreads off once you are done.
Once the Synthetic Hair is fastened sturdy enough, you can start backcombing. Start at the attachment piece and tease as tight as possible. The more you tease the dreads, the sturdier your dreads will become!
Crocheting your dreads (not absolutely necessary)
After backcombing you can crochet your dreads with a small Crochet Hook. Because the crochet hook is small, you’ll ensure that you don’t make more holes in your dreads than is necessary. Start crocheting at the attachment piece and work your way around towards the end of the dreads. Crocheting a dread will take a bit of practice. Try to make sure that you don’t make a lot of bumps and lumps on the inside of your dreads. This technique is very different depending on what style you like. Try it out for a bit to see how you get the dreads you like so that the dreads you are going to wear are similar.
Blunt ends don't need to be sealed. Flared ends can be sealed where it's not crocheted.
Done?
Try not to cut your dreads unnecessary. Removing a couple of fluffs or cutting a bit of the length is possible but make sure to seal the dread after you do this.
The more hairs you cut away, the less sturdy your dread becomes.
If you've made Single Ended Dreads, you can reinforce the loop (attachment piece of your dread) by making a knot with yarn right underneath the loop.
Good luck and have fun making your own dreads!
-X- Renate